TL;DR Jump to how to generate p8 key file or using p8 key file in Firebase
Generating push certificate can be a painful process, especially when the push notification provider / library requires a .pem file, which require extra steps to generate. Sometimes you might not even able to export the required .p12 file due to lost of key, or mixed up development / production environment certificate and unable to send push notification to Testflight / App Store. Worse, push certificates typically expires in 1 year and you have to renew it in Apple developer center and reupload the new certificate to your push provider every year, if you have 5 apps, then you have do this process 5 times every year!
Fortunately, Apple acknowledges the pain of generating push certificate, and in 2016 WWDC, they introduced a new authentication format for sending push notification. The new format is a .p8 key file, it works for all your apps (ie. 1 key file can send push notification to all of your apps), works in both development and production environment (no need to switch between certificates), and best of all, it doesn’t expire!
Remember to secure your .p8 key file, as anyone who have it can send push notification to all of your App Store apps! If you suspect the key file might be compromised, please head to the keys page and revoke it.
We will look into how to generate the .p8 key file and use it on Firebase in the next section.
Generating .p8 key file
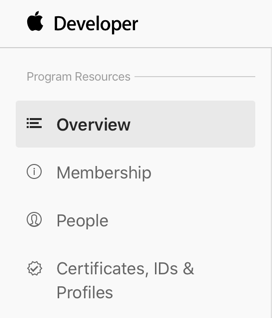
To generate a .p8 key file, go to Apple developer account page , then select Certificates, IDs & Profiles.
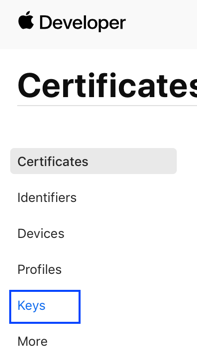
Next, select Keys.
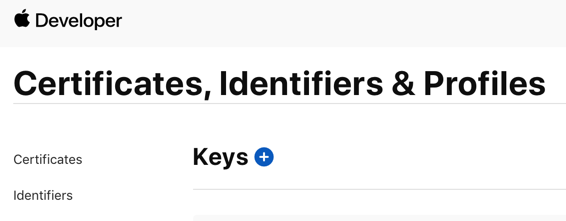
Click the “+” button to add a new key.
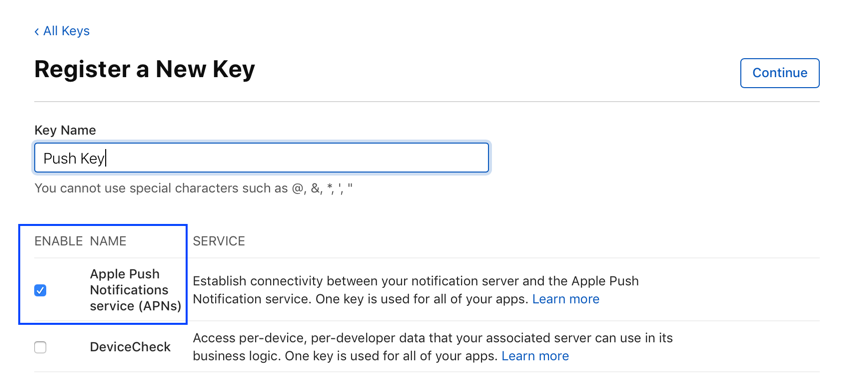
In the new key page, type in your key name and check the Apple Push Notification service (APNs) box , then click “Continue” and click “Register’.
Then proceed to download the key file by clicking Download
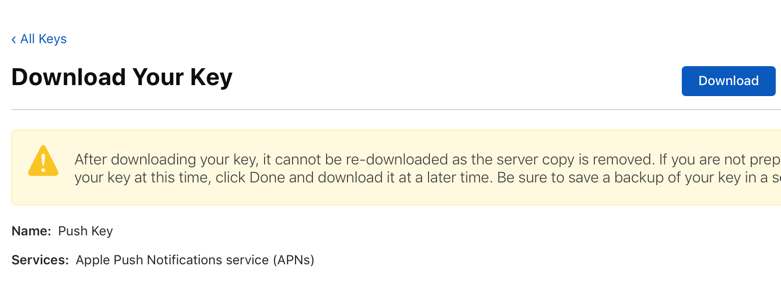
The Auth Key filename will look like this : AuthKeyABCD1234.p8, the ABCD1234 is the Key ID for this key, we will need this Key ID later.
That’s it for generating the .p8 key file! Remember to keep the key file safely as you can only download it once, if you lost the key file, you will need to revoke and it and register a new one.
As .p8 key file can easily be abused, I advise not to use free online web service which claims to send push notification for free as they might keep the key file on their servers. If you are looking for a tool to test push notification easily, I have made a native Mac app (which doesn’t connect to any server except for Apple ones for just sending push). Give it a try!
Tired of troubleshooting push notification and just want to test it?
Get the Pushever Mac App to send push notification easily with drag n drop certificate and one click push.
Below we will look into how to use this key in Firebase.
Using .p8 key file in Firebase to send push notification
Now that we have the .p8 push notification key, let’s head to Firebase to configure the APN (Apple Push Notification) service with the key file.
In your Firebase console, select your project :
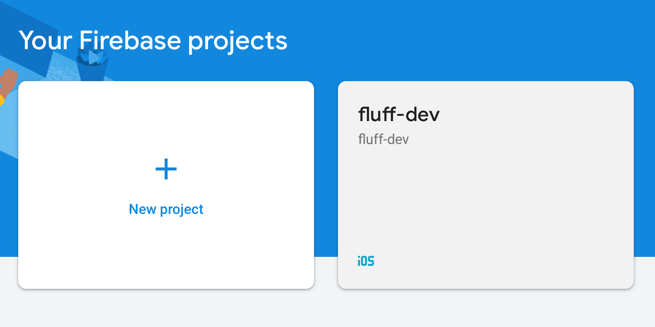
Then click your iOS app, and click the settings icon beside the app name :

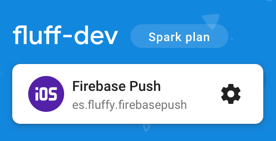
In the app settings page, click the Cloud Messaging tab.

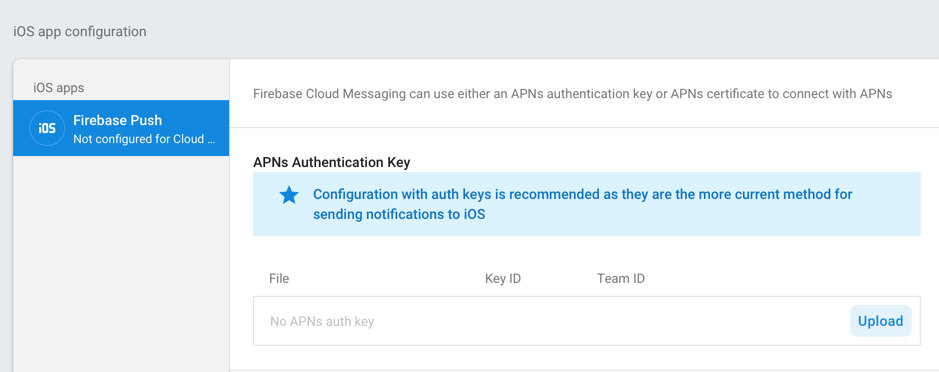
Scroll down to the APNs Authentication Key section, then click Upload to upload your .p8 key file.
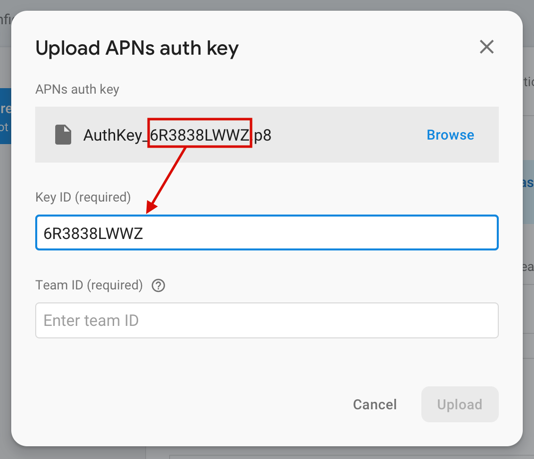
In the upload dialog, there’s two other field we need to take care of, which is the Key ID and Team ID.
As mentioned earlier, the Key ID is the string behind AuthKey in the file name.
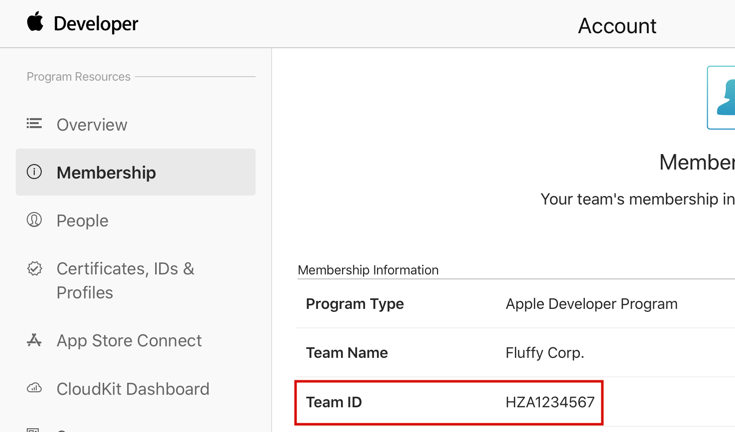
As for the Team ID, you can get this on your Apple developer account membership page :
Click ‘Upload’ and you are done! Now you can send push notification from Firebase’s Cloud Messaging using the .p8 key file.
Tired of troubleshooting push notification and just want to test it?
Get the Pushever Mac App to send push notification easily with drag n drop certificate and one click push.
